Notification Channels
What are Notification Channels?
Android Oreo (API level 26) introduced Notification Channels, which allow you to categorize notifications so users can control which types they receive. Once notifications are assigned to channels, users can decide which channels they want to receive notifications from.
For more information, see Android Central - Notification Channels.
Setting Up Notification Channels
To set up notification channels:
- Create your desired notification channel(s).
- Assign a channel ID and name to your channels.
- In your SAP Engagement Cloud account, go to Management > Apps and Channel Configurations and select Channel Configurations.
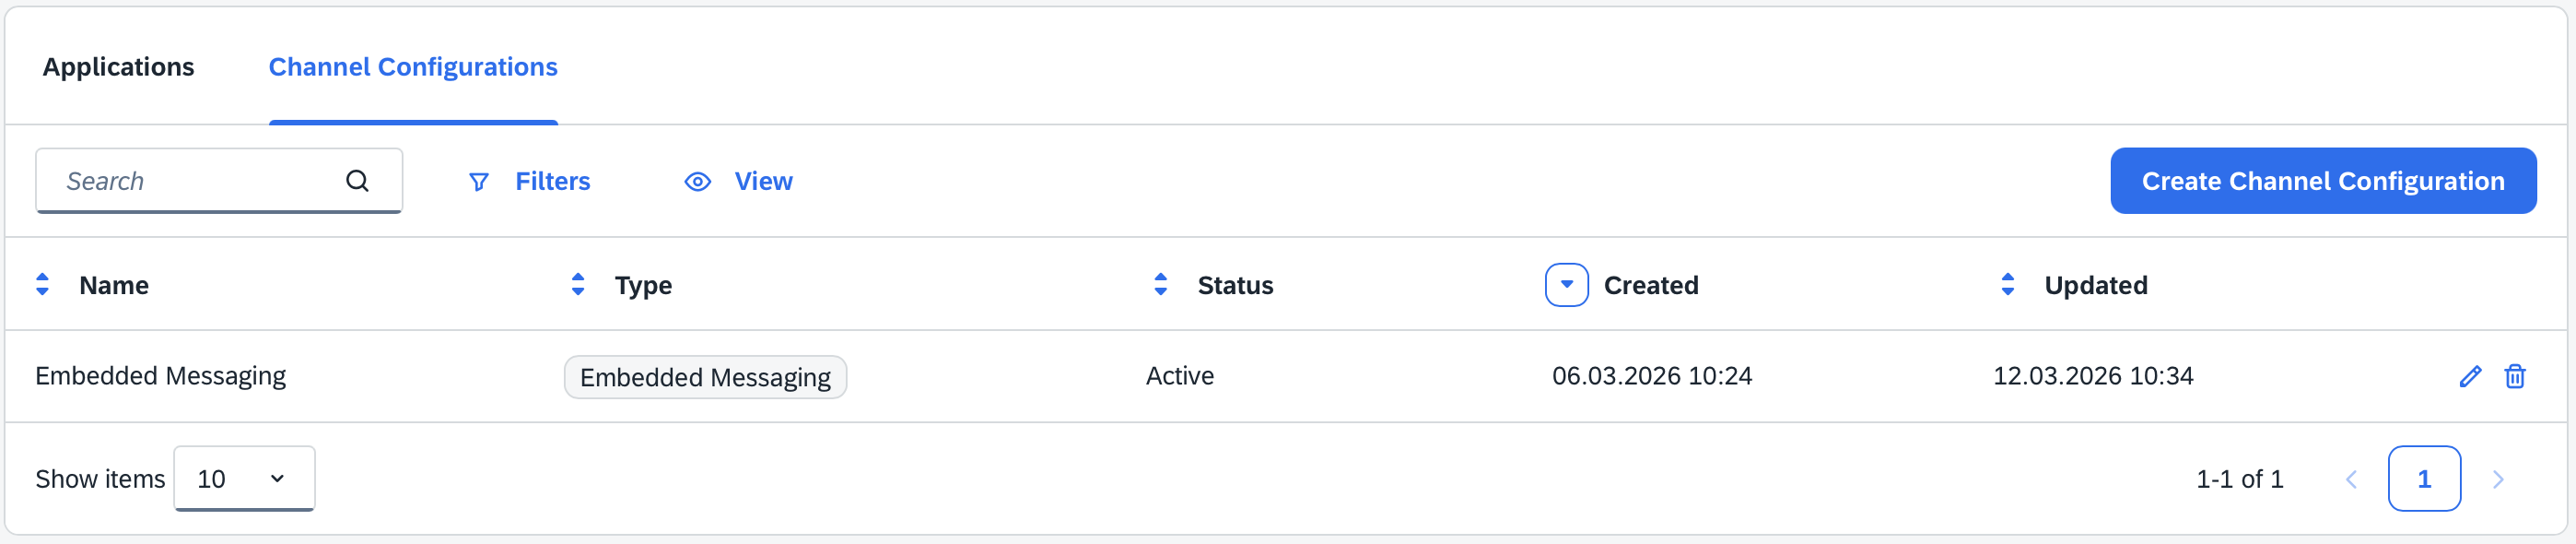
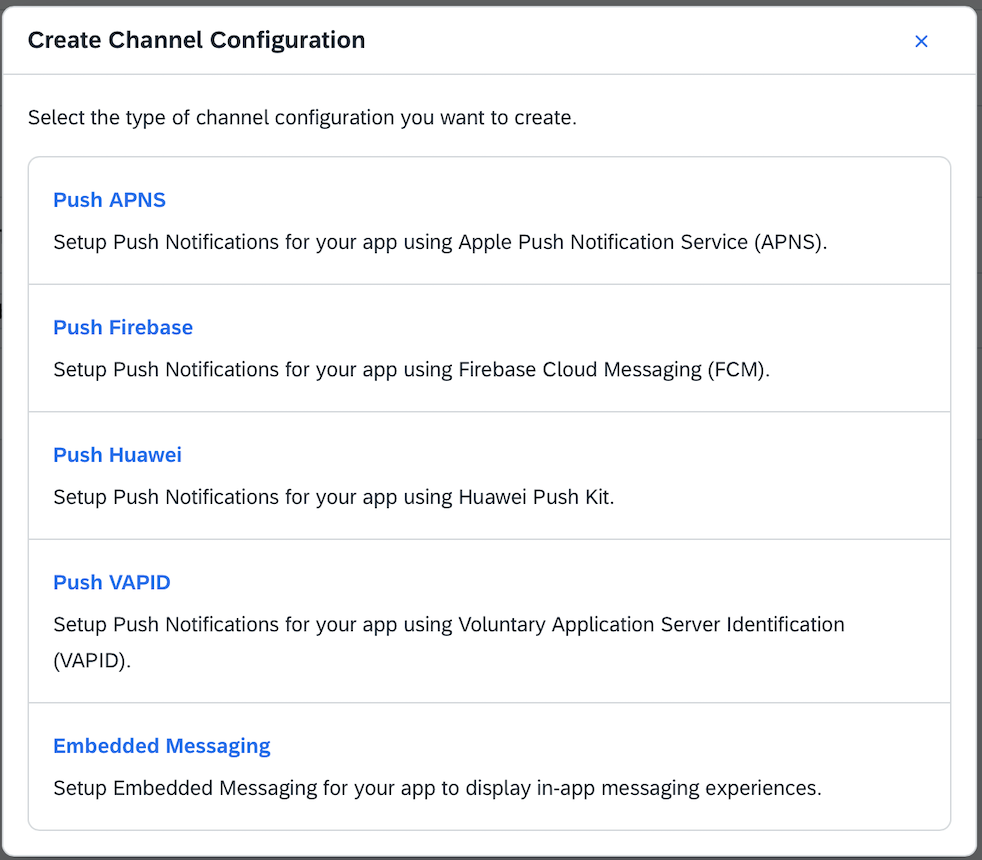
- Click Create Channel Configuration and in the dialog select appropriate Android notification provider: Firebase or Huawei.
Channel ID and Channel Name
In the editor you can upload your Service-Account.json file and configure the notification channel by clicking on + Add Channel
Set up the channel ID and channel name of your notification channel.
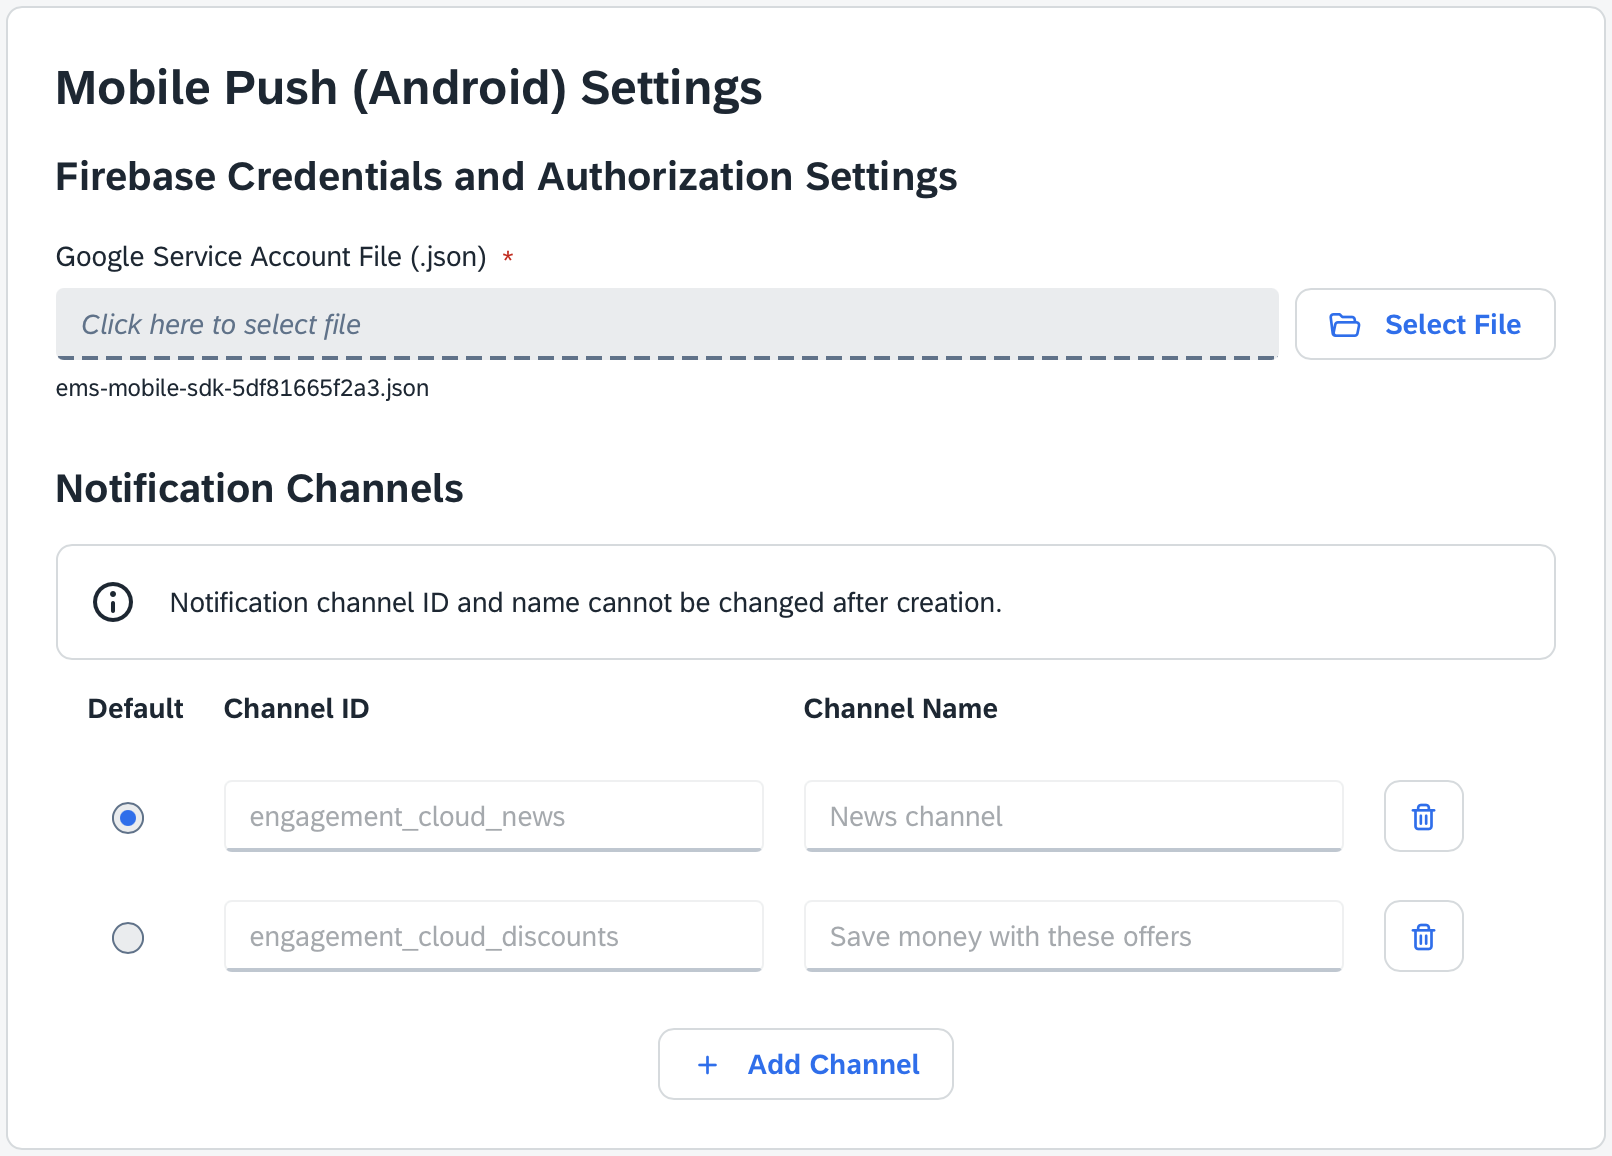
- The channels specified here need to be present in the application already.
- Make sure that the
Channel IDin SAP Engagement Cloud is the same as theidof your notification channel created in your Android application. - The SDK does not provide default channels. You need to create the channels both in your Android application and in the Channel Configurations.
If you haven't created any channels yet, your app does not crash. For debug purposes and to help you verify your push integration with the SDK we create a debug notification channel that will display all push notifications with this message:
"Engagement Cloud SDK DEBUG - channel_id mismatch: <channelId> not found!"
- the
<channelId>will be the one received in the push message. - If the
<channelId>matches any ids of your channels created in the application, this notification will not appear.
Using your Android Channel configuration in your app
Once your Android push provider configuration is set up, you can select add it to your existing Engagement Cloud App under Management > Apps and Channel Configurations by selecting the Applications tab.
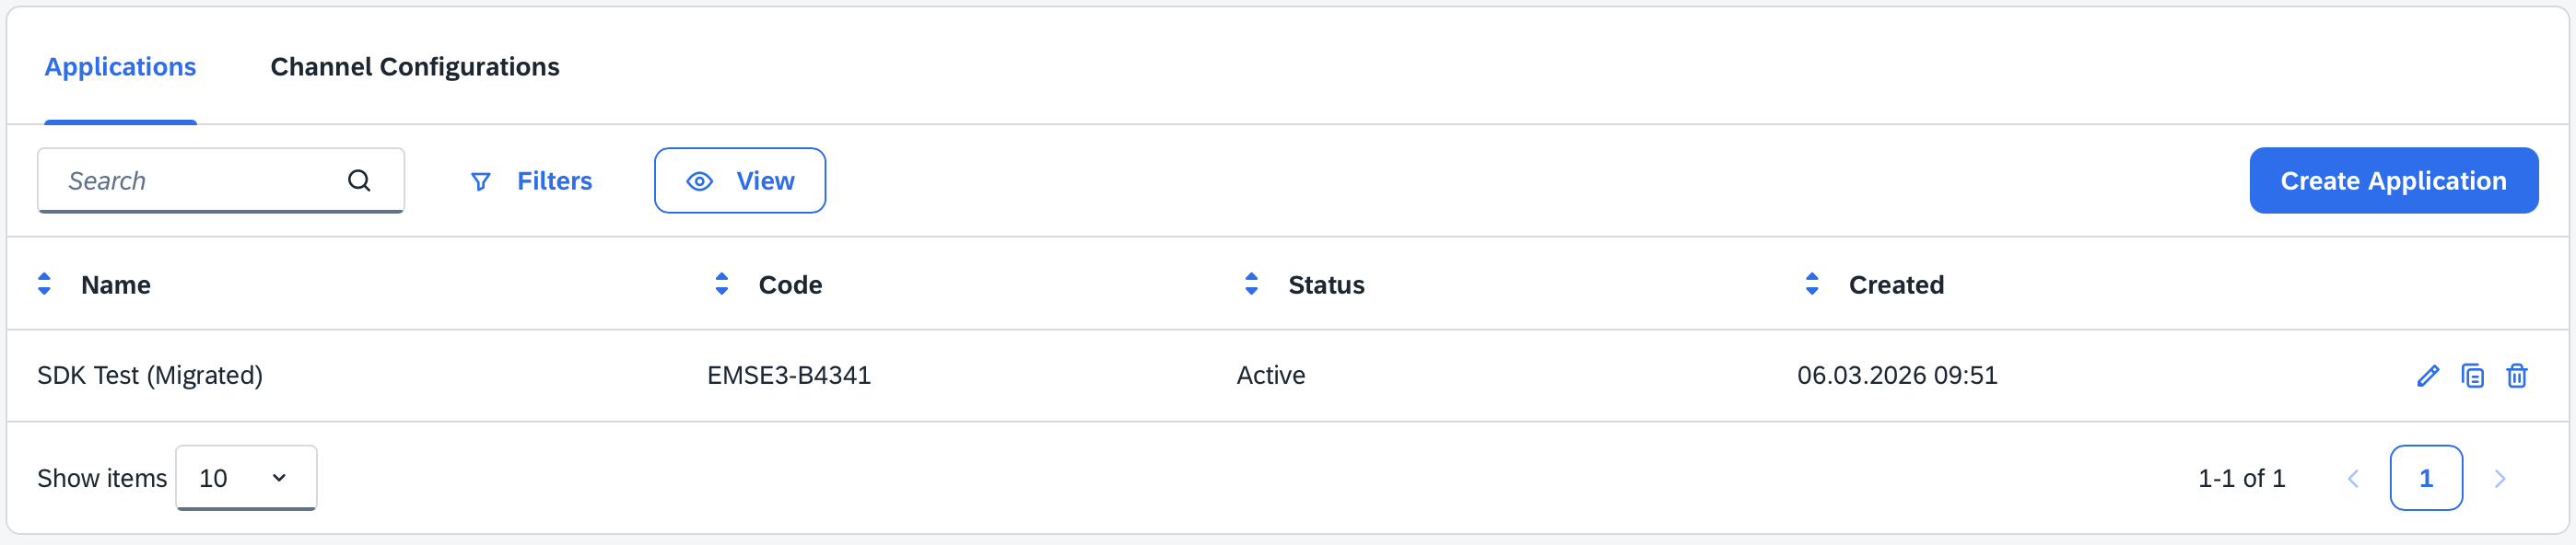
Click the Edit icon of the application you want to add the configuration to.
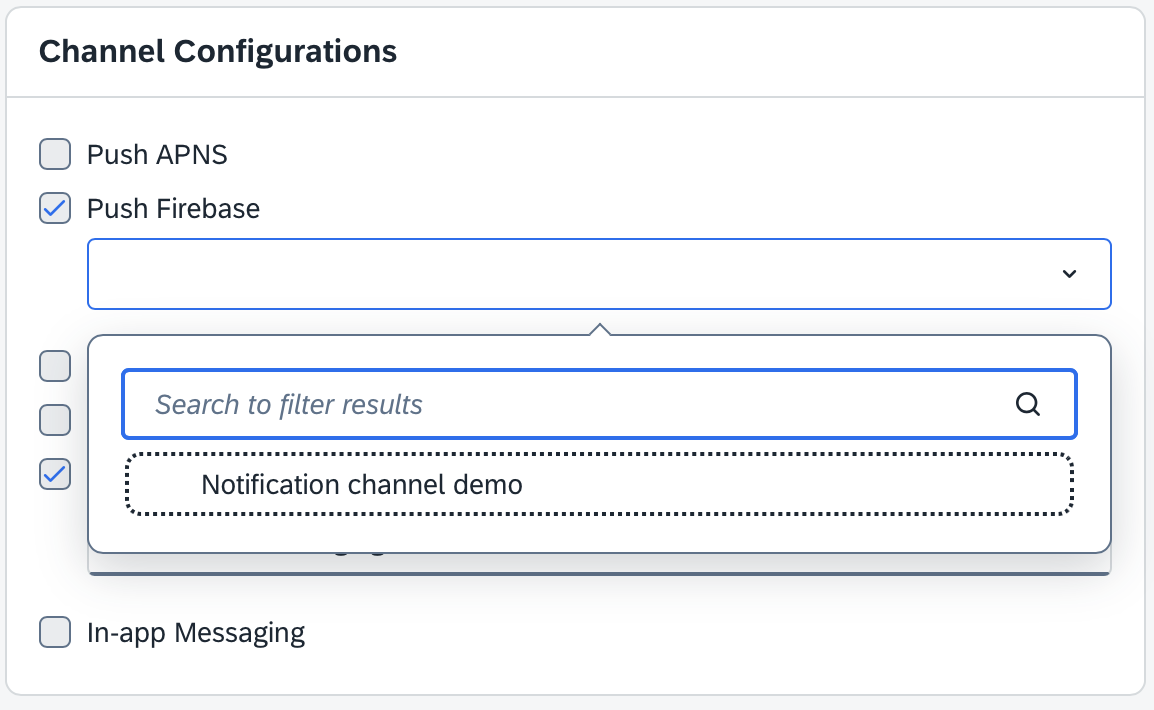
On the right side of the screen in the Channel Configurations check the provider you want to add the configuration to and select your configuration from the dropdown.
Notification Channel Recommendations
| Consideration | Recommendation |
|---|---|
| Number of channels | Keep below 5 to reduce user confusion |
| Naming | State a clear purpose, such as "Promotions" or "Transactions" |
| Importance | Start conservatively. Let users adjust the importance if desired |
| Sound | Use for high-value, actionable notifications only |
User Control of Notification Channels
Users can lower the importance of notifications. Design your messages with importance levels in mind. For example, consider that the heads-up notification might not appear for all users. Always include a concise title and first-line summary.
Troubleshooting
If the channel is missing:
- The debug channel provided by the SDK will display a notification as mentioned above. Your push notification content is not displayed.
- Confirm the channel is created when the app starts.
- Perform an internal health check that logs whether the desired channel exists.
Sample Creation Snippet (Kotlin)
You can find a sample code in the official documentation on the following link. Create Notification Channel Sample Code
Auditing Channels
Periodically fetch your channel list to verify they are actively configured after updates. Remove deprecated channels to avoid clutter.